The second project of our second semester was a personal favorite: build a musical band consisting of a percussion, wind, and string instrument. The project requirements seemed simple enough--build three instruments capable of playing a C major scale. Once completed, we would play a STEM-themed song utilizing our instruments at the ribbon-cutting of our last project, the passive solar home.
The Instruments
Pitched Bottles:
|
Our percussive instrument, pitched bottles, each produce a unique note when hit by our spoons. When a bottle is hit, it vibrates. These vibrations produce what our ear perceives as pitches. Due to the different levels of water inside of each bottle, each bottle produces its own note. This is because the bigger something is, the lower the pitch will be when it vibrates. When a bottle has a large amount of water in it there is more volume of the bottle to vibrate which produces a lower frequency. Simply, the more water in the bottle, the lower the pitch and vice-versa. Using 16 oz. bottles, we happened to luck out with our bottles resonating at a C at exactly 8 oz. full (when level). Using the ratio chart below, we added and subtracted water accordingly.
|
Slide-Whistle:
Our wind instrument is our PVC slide-whistle. When the player ‘buzzes’ their lips, it vibrates the air which produces sound with a given pitch. To manipulate the pitch, the player moves the slide up and down the pipe to change the amount of air is vibrated. The larger the amount of air vibrated, the lower the sound and vice versa. In other words, by moving the slide down, a lower-pitched tone is produced and by moving the slide up, a higher-pitched tone. To find our C major scale, we found what note the slide produced in its different positions and marked them accordingly.
SNES Electric Guitar:
Our stringed instrument, the SNES guitar, produces sound when its strings are plucked. In order to change the pitch of the sounds (assuming we stay in the same tuning the entire time), a finger is pressed behind the fret, shortening the string to different lengths. To calculate the positions of our frets accurately, we first had to measure the length of the string from the nut of the guitar to the bridge which was 610 mm (approximately 2 feet). By dividing the scale length by 17.817, you can get the distance between the nut and the first fret. In order to place the second fret you subtract the distance between the nut and the first fret from your string length and then divide your new distance/scale length by 17.817 and place your fret accordingly. You keep repeating the process until you have measured out all your frets (in this case, 24 frets). In addition to fretting notes, the string can also be moved from side-to-side increasing the tension of the string therefore increasing the pitch and frequency of the note produced.
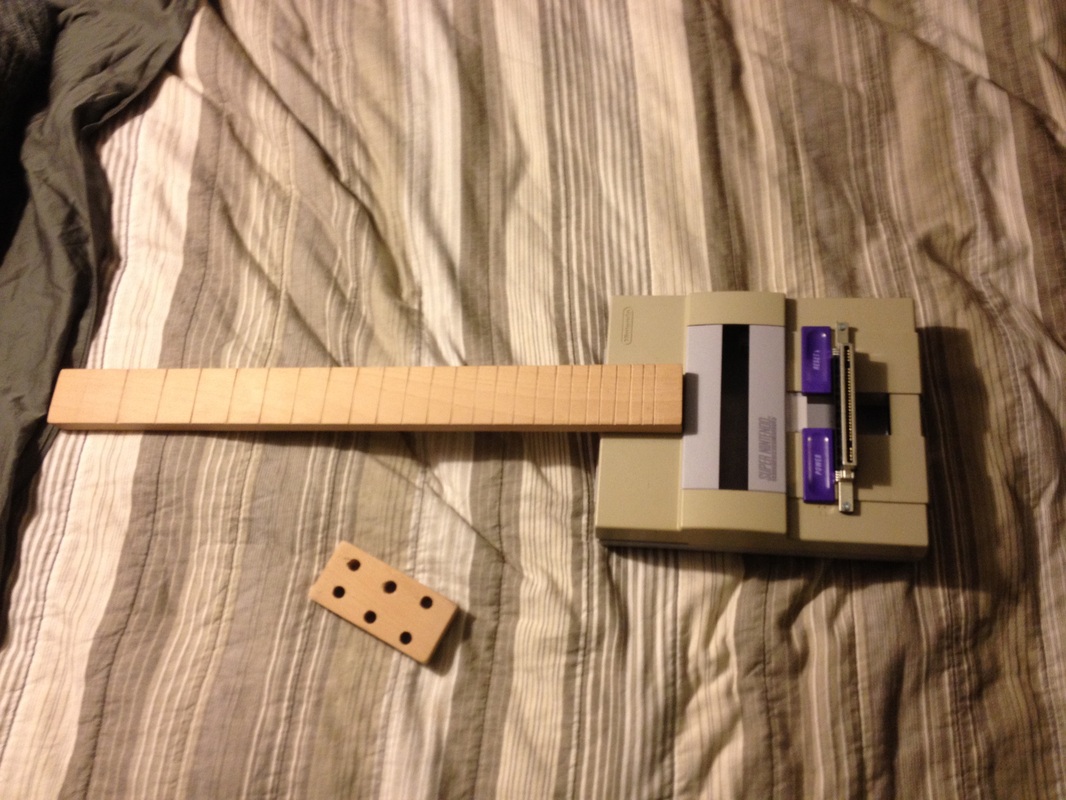
With lots of help from Weinstock Guitars (https://www.facebook.com/WeinstockGuitars), We attached our headstock to our neck, added frets, and reinforced the shotty SNES body.
|
|
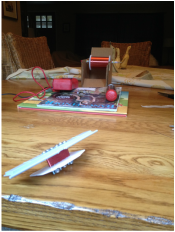
I wanted to not only make a functioning guitar, but a functioning electric guitar. In order to do this, I created a magnetic pickup by wrapping copper wire about 8,000 times around magnetic bobbins (screws magnetized by neodymium magnets). After many unsuccessful attempts due to wire breakage (extremely thin wire and meticulous winding don't mix well!), I finally managed to create this crude pickup. When a string is plucked, the vibration disturbs the coil's magnetic field which sends electronic energy to the guitar's wiring where it is shaped and then sent to the amplifier for amplification to be heard.
|
After the extreme patience test, Archer and I soldered the pickup to a volume control [potentiometer) and to a 1/4 inch mono jack. Before mounting inside the guitar, we tested the circuit by plugging in the pickup and holding it over one of my guitars. When sound came out Archer and I were practically screaming in joy! Though the output was very quiet (not enough winds on the coil) we had managed to electrify our guitar. Then we proceeded to mount the pickup into the SNES body. Then we screwed the body together and began to string up the guitar and tune it.
|
|
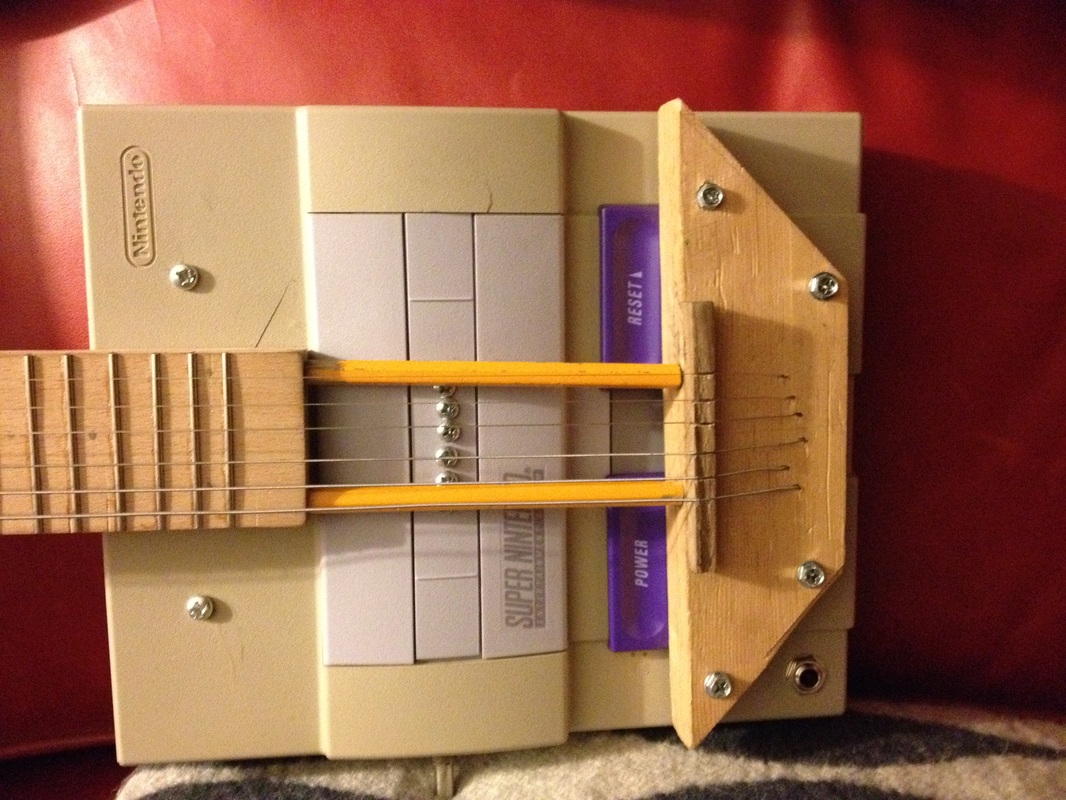
While tuning, our bridge (the cartridge holder) snapped. Our pristine guitar was in the dumps. So in a rush, I made a secondary wooden bridge and strung that through. This managed to work, although the intense tension from the 6 strings would bend the neck when the guitar was in tune. When I tried to tune it to standard guitar tuning, the 20 year old plastic snapped. I was devastated. In order to try to reduce the compression, I added two pencils. This fixed the problem and the guitar finally came to life!
|
Demonstration
To demonstrate my working electric guitar, I decided to play the required scale and just do some blues jamming while amplified.
Physics Concepts
Wave Speed = Wave length x Frequency
Period = 1 / Frequency
Sound waves - Waves created by the vibration of objects to produce a frequency
Compression - Pushing together
Rarefaction - Pulling apart
Medium - Where waves travel through
Amplitude - Distance from the midpoint to the top or bottom of wave
Crest - Top of a wave or bottom of a wave
Wavelength - Distance from crest to crest, in meters
Frequency - How often a vibration occurs in Hertz, or cycles per second
Period - Amount of time between waves
Wave - Disturbance or vibration through a medium
Transverse waves - Vertical movement
Longitudinal waves - Horizontal compression
Interference - Two waves being added together
Positive interference - Two waves added that create a bigger wave
Non Constructive interference - Two waves added that create a smaller wave
Node - The area between a wave
Anti-node - The highest and lowest points of a wave
Pitch - How we perceive wavelength
Doppler Effect - The concept of a change in frequency due to the motion of a source
Blue shift - An increase in frequency
Red shift - A decrease in frequency
Resonance - The natural wavelength/frequency of an object
Reflection
Overall, this was one of the most fun and the most infuriating experiences in STEM. There were many great moments and having a somewhat functional guitar is great, but along the way there were many difficult pitfalls and other issues.
The best aspects of this project were creativity, effort, and time management. As a musician, I loved this project and wanted to challenge myself and make something cool. I think I really pushed my creativity by envisioning such an odd guitar and trying to construct it. Our group had no issues with trying hard. There were very little off-task moments and we were all working during and after class. Another good part of our group was time management. No time was wasted, but there was not enough. We made the best of what we had and managed to get some great results!
The bad aspects of the project were feasibility, constant error, and lack of time. When thinking of instruments, I was a little overly creative. If I had just built a real guitar, it would have been a lot easier! Another issue was making constant errors. Especially during the coil winding, it was just about being patient and working with the materials. Lastly, I wish we could have had more time for the project. I felt that our group could have used another week to further each instrument a lot!
I really liked this project and the concert was a fun experience. I enjoyed seeing everyone's different instruments and playing my own. It was a very memorable project.

